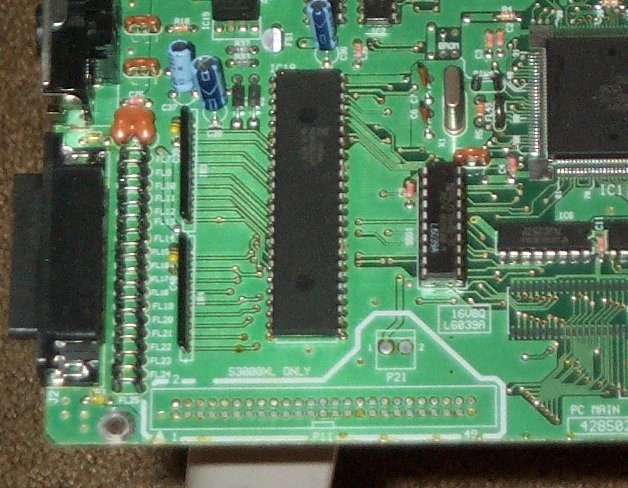
Here's the S2000 mainboard connector beforehand. Note the electrical components
are there, just the IDC connector is missing:
After the IDC is installed. The two wires to P21 are the power supply for the
drive (+5V and GND). Use a multimeter to determine which is which):
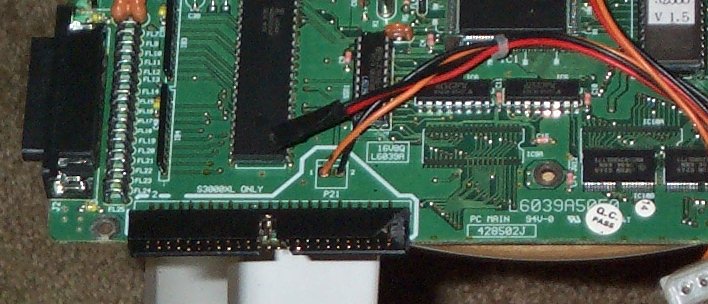
I would have preferred a straight IDC connecotr but I did not have one around
here. The only angled conenctor I had was `angled` the wrong way (pin 1 towards
the inside of the board). So I had to cut, or more like break, a new keyed slot
so the pin alignment would match. During the process I manged to chip a corner
off the IDC as you see in the pic.
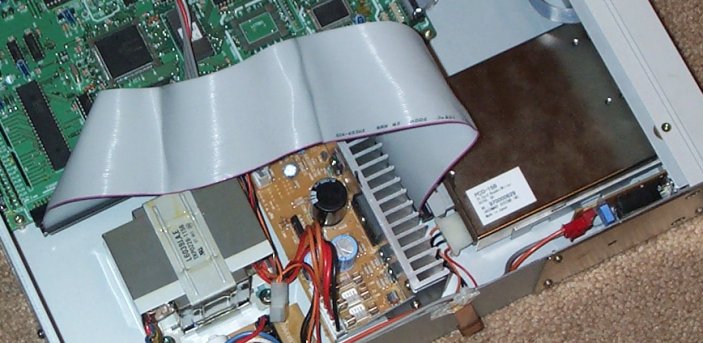
Here's the S2000 with it all installed. The job was kind of rough, but I would
have done a neater job if it was someone else's Akai.
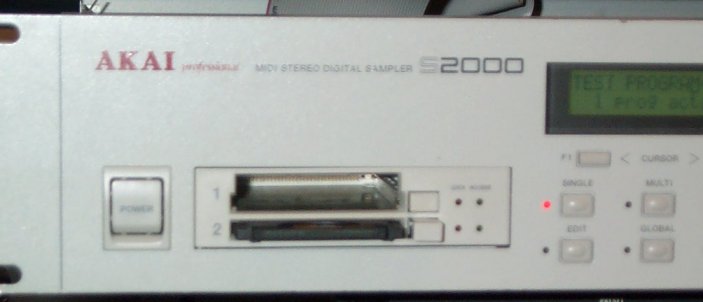
The final product appearance from the front. The reader's bezel was even the
same color as the S2000. Now the S2000 can boot from my SCSI PCMCIA reader.
I typically use Compactflash cards. Other SCSI devices work, like Zip and other
3.5" form factor drives.
Sorry for the fuzzy pics. My 3 year old digital camera can't mange a focal length of under 3 feet.
I managed to recently install a hard drive inside the S2000 and mount it on
top of the SCSI card reader:
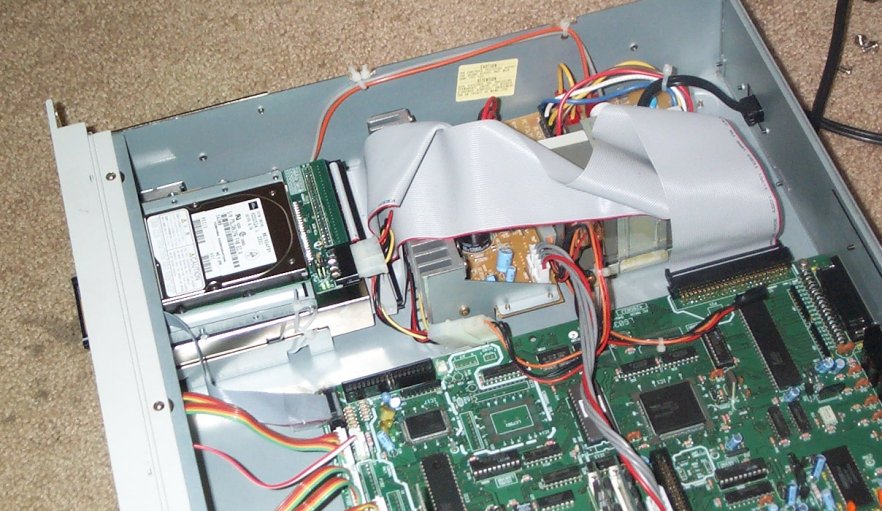
The drive is an old Toshiba 543Meg SCSI laptop drive. Of course only 512Meg of it are used by the S2000.